Once you have physically counted all the items for the stocktake, you need to enter this information into Idealpos using the Enter Stocktake screen.
This screen automatically saves all data as it is entered.
When you close this screen, the data previously entered will have been saved and be displayed for you.
To Enter Stocktake, go to: Stocktake > Enter Stocktake
A new window will open which shows a grid of all the stock items for a particular location.
This section enables the list of Stock Items shown in the grid on the left-hand side to be filtered based on the specified Filter Criteria.
Location
If you want to enter the stocktake of multiple locations, you need to do this by selecting the location from the drop down box.
The first Location which has an active Stocktake is selected by default.
Department
The Department field can be used to select specific Departments. Only items that are linked to the selected Departments will be shown in the grid on the left-hand side.
This can be useful when manually entering Stocktake Counts for items that are located in specific Departments.
Department Codes can be entered as a single code (e.g. 303), a comma separated list (e.g. 303,402), as a range (e.g. 303-402), or as a combination of both (e.g. 301,302,304-404).
Sort Order
You can select how to sort this grid so that entering of the stock is a simple procedure, using the Sort Order selection. Stock Code is selected by default.
Note that when using the Sort Order options Department/Stock Code or Department/Description, the items in the Enter Stocktake grid will be sorted by the Department Code, not the Department description.
The same goes for sorting by Supplier; selecting Supplier/Stock Code as the Sort order will sort by the Supplier Code, not the Supplier Name or Supplier Description.
Filtering Methods
You can filter the Enter Stocktake form in the following ways:
Filter by Department - Within the Filter Criteria section (top-right hand corner of the window), enter a Department range or press the > button to select from a list. If you are using the Stock Manage app or PDEs, the option to Show Counted Items Only may be useful.
Filter by Stock Code/Description - At the top of the Enter Stocktake window, enter the Stock Code and/or the Description of the Stock Item you are looking for. The Enter Stocktake window will be filtered and only the items which match the entered Stock Code/Description will be displayed. While the Enter Stocktake list is filtered, you can utilise the 'Set Uncounted Items to Stock Level' or 'Set Uncounted Items to Zero' buttons and these actions will only apply to the items currently being displayed by the filter.
This section can be used to perform Direct Stock Item Entry into the Stocktake instead of searching for the Stock Item in the grid that appears on the left-hand side and entering the quantity into the Stocktake field.
Direct Stock Item Entry can be used in combination with performing Stock Count entry into the Stock Item grid shown on the left-hand side.
Scan Code
Each time an item is scanned or entered into the Search Code field, that item can then be automatically entered into the Stocktake, rather than using stocktake forms.
Quantity
The Quantity field is used to enter the quantity of the item that has been counted when performing Direct Stock Item Entry.
If you have a scanner, items can be scanned and a quantity entered, or use the option "Automatically Add One to Stocktake with each Scan".
Automatically Add One to Stocktake with each Scan
This checkbox (Automatically Add One to Stocktake with each Scan) can be used together with a barcode scanner.
Each time a Stock Item barcode is scanned, a quantity of one of the scanned item will be added.
This can be used to quickly increment an item's count by one each time the item barcode is scanned without having to worry about counting each individual item and manually entering the count.
Add to Stocktake button
Pressing this button will add the entered Stock Item Code and Quantity to the Stocktake.
Numeric Keypad
The on-screen Numeric Keypad can be used to enter a value into the Search Code, Quantity, Stocktake, or Stock Code fields, useful when a POS Terminal or Back Office doesn't have a physical keyboard attached.
Enter the quantity recorded for each item into the relevant field under the stocktake heading.
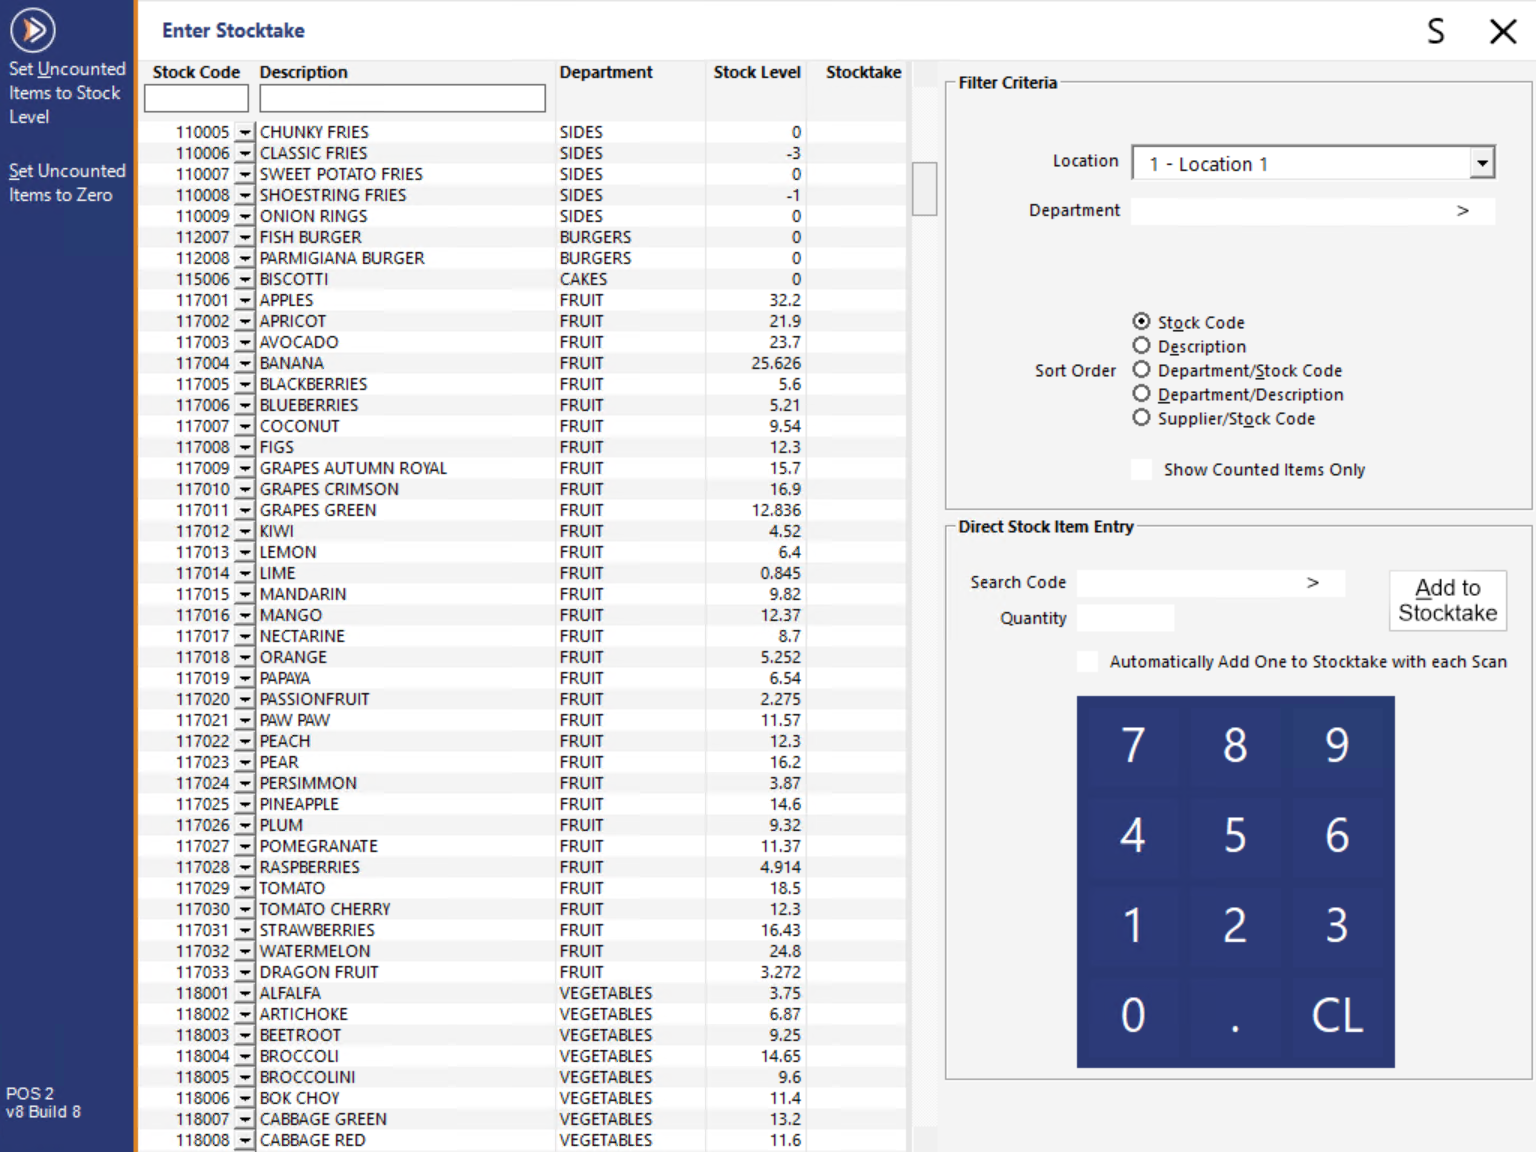
If you are counting your items as indirect components, you can press the drop down button located in the Stock Code column for the Stock Item, then enter the separated values here.
Idealpos will calculate the totals of each to display the correct quantity.
Press Add to Stocktake to the calculated items to the count.
If the Yes/No Option Confirm Indirect Component Count is enabled, a confirmation screen will be displayed to add the total of the indirect items to the stocktake.

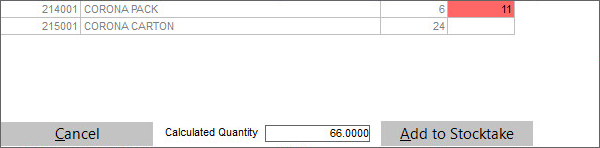
Once you have entered all of the stock item quantities, you can select to ‘Set Uncounted Items to Zero’ or ‘Set Uncounted Items to Stock Levels.
This function is used when you are positive you have no items left and want the stock levels adjusted accordingly.
This option can apply only to the items displayed in the window based on the selections in the filter.
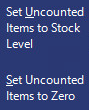
When using this function, you will be prompted with a warning screen (if the Yes/No Option Confirm you want to Set Uncounted Items to Zero is enabled).
Once you have entered all stock quantities and set any items, you can simply exit the screen.
Exiting the screen will automatically save any quantities already entered against the items, and you can come back to this screen and add more at a later stage.
After checking the variance report, you may need to recount any items with a large variance and come back to this screen to change the previous entered quantity.
Once you have updated your stock levels, this option will no longer be available.
You cannot enter this screen if a Stocktake has not been started.